Squat Progressions
As outlined in RoamStrong’s workout program, you progress by completing increasingly more challenging variants of an exercise. Below are the progressions of the Squat.
Table of Contents
- What is a Squat?
- What Muscles Are Used in a Squat?
- Why Should I Squat? Benefits of Squatting
- Squat Technique
- Squat Progressions
- Step 1: Assisted Half Squat
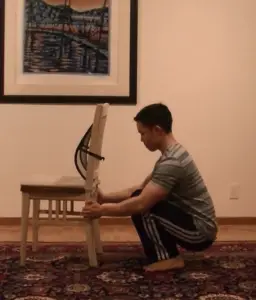
- Step 2: Assisted Full Squat
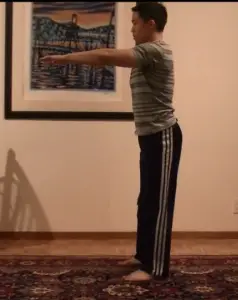
- Step 3: Half Squat
- Step 4: Full Squat (Benchmark Skill)
- Step 5: Bulgarian Split Squat
- Step 6: Assisted Pistol Squat
- Step 7: Low Chair Pistol Squat
- Step 8: Counterweight Pistol Squat
- Step 9: Pistol Squat (Hallmark Skill)
- Step 10: Renegade Pistol Squat
- Step 11: Full Shrimp Squat
- Step 12: Elevated Shrimp Squat
- Step X: Barbell Squats or Weighted Pistol Squats
- Ending Thoughts
What is a Squat?
The Squat is a quad-dominant full body exercise, performed by bending through the hips and knees, then pushing back up.
What Muscles Are Used in a Squat?
The squat works out the quadriceps, hamstrings, gluteus maximus (your butt), abs, obliques, groin, and lower back. They train every major lower body movement and are an excellent exercise in any program (or simply by themselves).
Why Should I Squat? Benefits of Squatting
A few simple reasons:
- Full-body Strength: you work out your entire body at once. That means you get more work done in less time, and your entire body gets stronger with a single exercise. It is a time effective exercise – gets way more done, in less time.
- Stability: Squats require every muscle group in the body to work together to keep you standing and stable under tension. This stability translates into more stable carrying and lifting, improving quality of life.
- Lower Back Protection: Squats improve your lower back, and are preventative for back pain.
- Knee Protection: The quads and hamstrings are what help the knee move about and protect it from harm. Squats help build that strength. Jogging does not, and stresses your knees. “Runner’s Knee” is how doctors describe a high-repetition knee injury. Add some Squats to your weekly routine to protect your knees for life. Don’t just jog.
Squat Technique
Depending on limb length, and limb ratio, your ability to do squats may vary. Thus, there are guidelines, but only one “set in stone” detail. “You must go down, then you must come up”.
These details cover every squat variant.
- Stance: Stand shoulder width apart
- Toes: Generally point slightly away from each other (“opened”) or straight
- Knees: Pointing in the direction of your feet (straight, or slightly opened)
- Head: Whatever is in line with your spine. You are most stable in this position. Avoid tilting your head up or down too far, but don’t be too paranoid about it.
- Breath: Take a deep breath, about 90% of your capacity! Inhale the other 10% slowly as you go down, then hold it in as you approach the end of your range of motion (“the hole”). Hold your breath, feeling the tension in your body explode upwards as you press up. Exhale at the top of your squat.
- This breathing technique allows you to produce more power. The extra pressure in your core keeps your abs and lower back safer and stronger.
- If you’re doing “cardio squats” – that is, more than 12 reps a set – you won’t need to do as much breath preparation. It may even be advantageous to simply inhale as you go down, and exhale as you come up. Cardiovascular focus demands more aerobic capacity than muscular tension, so adjust your breath as needed.
- Hips: For half squat variants, your thighs will be parallel to the ground. For full squat variants, your hips will dip below the top of your knees.
Squat Progressions
Choose a Squat variant as a starting point using your best judgment. If you have not trained before, choose Step 1’s exercise.
Do 4 sets of 4 to 8 reps (what are sets and reps?). When you can do 4 sets of 8 reps (4×8), begin the next exercise in the progression. More info on the “4×4-8” for Roam Strong’s Workout 1.
Step 1: Assisted Half Squat
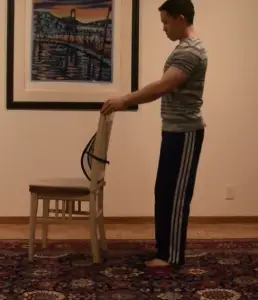
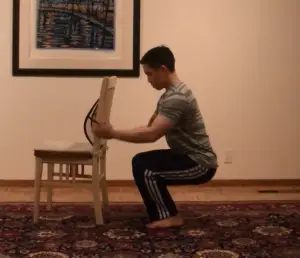
Step 2: Assisted Full Squat

Step 3: Half Squat
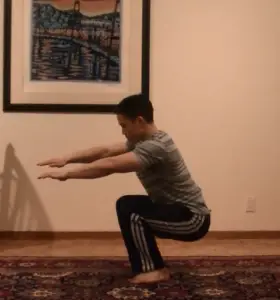
Step 4: Full Squat (Benchmark Skill)

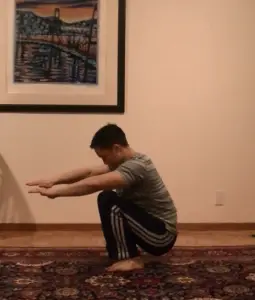
Step 5: Bulgarian Split Squat
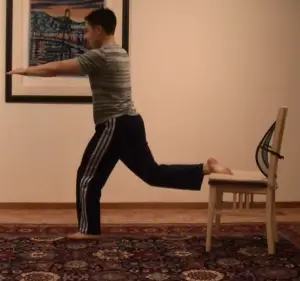
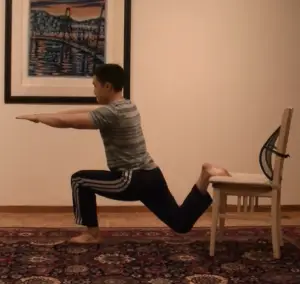
Step 6: Assisted Pistol Squat
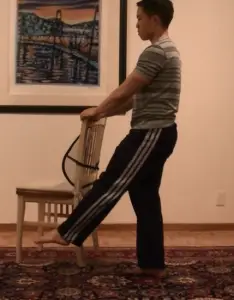
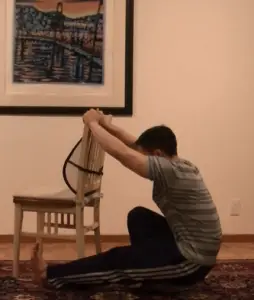
Step 7: Low Chair Pistol Squat
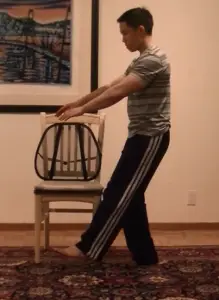
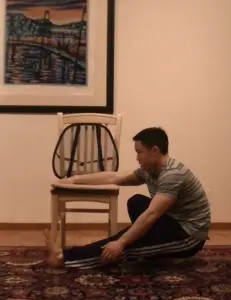
Step 8: Counterweight Pistol Squat
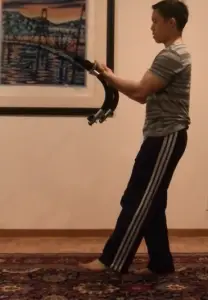
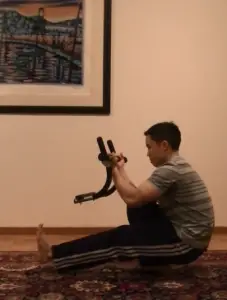
Step 9: Pistol Squat (Hallmark Skill)
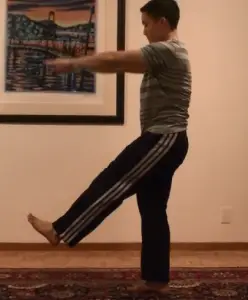
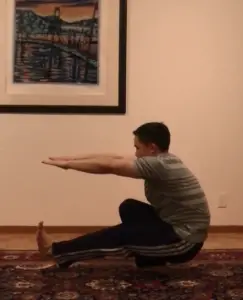
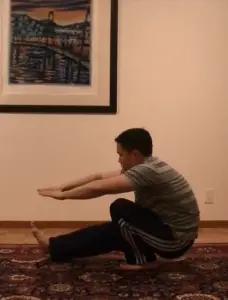
Step 10: Renegade Pistol Squat
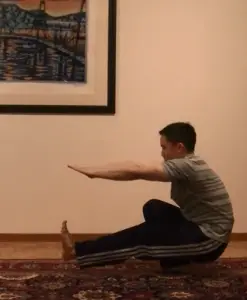
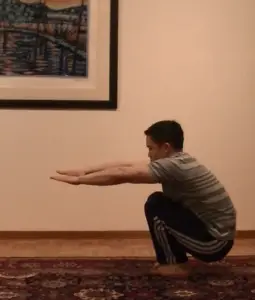
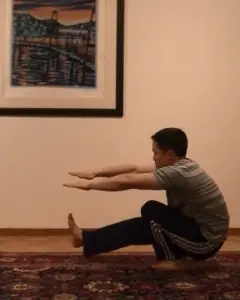
Step 11: Full Shrimp Squat
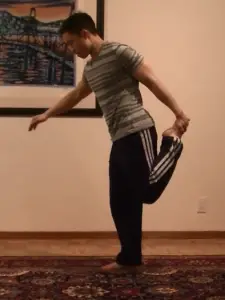
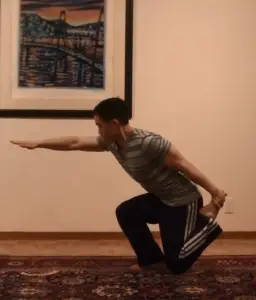
Step 12: Elevated Shrimp Squat
Perform a Shrimp Squat while on an elevated surface. This allows your trailing knee to dip further, increases the range of motion, furthers hip activation, and makes the exercise that much harder. Before starting the Elevated Shrimp Squat, I have a mini ritual stretch. Check it out!
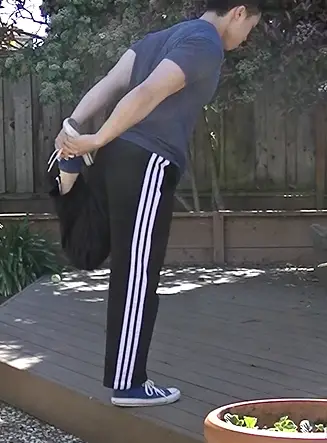
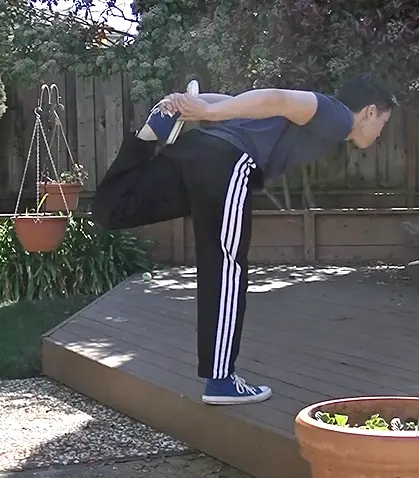
Now that your balance is in check and you’re flexible enough to do this, let’s begin the Elevated Shrimp Squat.
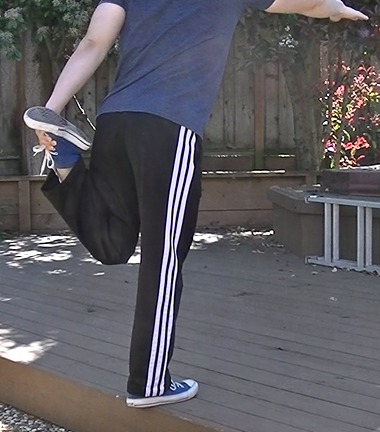
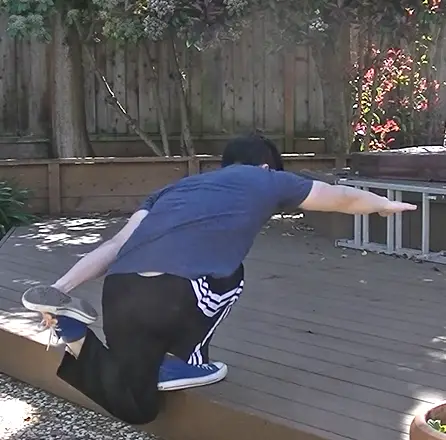
When you can bang out 4 sets of 8 elevated shrimps, your legs will have reached incredible strength and flexibility. Since 90% (arbitrary number – a LOT cannot) of the United States can’t even full squat with heels flat on the floor, you will be legendary among your friends. If you want a harder challenge, try grabbing your foot with both hands. This requires a significant amount of balance, flexibility, and mind-muscle connection in your glutes. Good luck!
Step X: Barbell Squats or Weighted Pistol Squats
After you’ve conquered Elevated Shrimp Squats (can manage a set of 4 for 20 reps easily), you have some options:
- High(er) Reps: you want to powerful, efficient, indefatigable single leg power? Keep doing elevated shrimp squats and/or pistols all the time! This will improve unilateral leg strength (aka, the kind you use for jumping and kicking). You’ll also sculpt the heck out of your leg muscles. A good addition to your shrimp squat game is simply jumping or doing another sport. Together, you’ll develop power and agility for any fitness activity thrown at you.
- Barbell Squats: if you’re in it for leg aesthetics (aka, you want to have massive, muscular legs), it might be time to add weight. Barbell back squats are king for this. My expertise on barbell back squats is limited. I recommend you take a look at Stronglift’s Squat tutorial to learn them. You can also do squats with a person on your back. I used to do that in Judo! And when you’re without weights, Shrimp Squats are always a viable alternative to your barbell squatting.
- Weighted Pistol Squats: if you have no place to do back squats but still want to increase leg muscle size and power, you can hold dumbbels, a barbell, a backpack, or your dog and do pistol squats. This really challenges your quadraceps and glutes. Aka, you’ll get a super butt and super legs. I find that focusing on weighted pistol squats lets you get the best of both worlds – unilateral stability and power AND good raw power and size.
Ending Thoughts
The squat is an incredibly effective, fundamental movement that trains a lot of muscles (all of them!) in the lower body and lower torso. Aside from sculpting your legs (and especially your butt), it will impress almost everyone you know. There is little more impressive than a well-executed one-legged squat technique. It combines strength, stability, balance, flexibility, and concentration into a single exercise.
Master the squat, master your life’s movement.
13 replies on “The Squat – Tutorials and Progressions”
I noticed that on the planking page you said to start at the level that you can do without much of a struggle. Does that apply with the other exercises as well? For example, I can do the a 4×8 of the benchmark to start. Do I begin at the next level or at step 1?
It’s mostly a safety precaution if you’re just starting out. If you’re already 4x8ing the benchmark, then keep going forward in progression.
How do you count reps for the renegade squats?
I count the total sets rather than the individual reps per side.
Aim for 4×8 total, then feel free to add an extra couple of sets post-workout before you begin shrimp squats.
I am struggling with progressing from Bulgarian split squats to the next progression. How can I fix this?
Which part of the assisted pistol are you having trouble with? Pushing up from the bottom? Getting down there to begin with? Or something else?
Same as Tom Bail, I can’t even get down.
Does 4 x 8 squat mean that 2 sets for the left leg and 2 sets for the right leg?
Aim for 4×8 on each leg.
Hi, I’m a bit confused. If you are working on shrimp squat, do you do that 4×8 and no longer work on the basic squat or pistol squat at all?
The linear progression of the workout is just to keep you moving towards positions of decreased leverage so that your muscles must work harder to perform the exercise. You are absolutely allowed (and encouraged) to add basic squats or pistol squats to supplement your progress towards the final progressions.
What I think is the most useful for general fitness is:
There is value in both strength-focused (1-8 reps) and endurance-focused repetitions in any workout program. But it’s hard to mash it all into the workout without making it convoluted, so I opted to make it optional — so as to be less intimidating as a beginner’s bodyweight workout plan. I think getting beginning trainees to understand that progression can be made without total body burnout every day was the original goal for me.
Looks to me like you’re missing the half pistol squat.
Good catch. I removed half pistol squats a while ago.
The top of range of motion is easy for most people — being stable and generating force as your upper leg gets closer to parallel with the floor (aka, “entering the hole”) is where most people find difficulty. Honing bulgarians and assisted pistol squats earlier tends to fare better.